I started with picking a theme. The hardest part about arranging a dessert table is picking the theme. It took more time than all the baking together. I had various theme’s in mind, but I also had to take the materials I had into account. I really love the sort of Victorian swirly style so I thought of making a theme around that. I had a few glasses with that theme on it, in red. From there I just worked around it. The colours would be red, black & white. The main theme would be the swirls.
The next step was looking at all the dessert tables online and finding little things I liked or things they had in common. For instance, most of the dessert tables have cupcakes. You can’t really do without cupcakes, so I put cupcakes on my list. Next was those massive candy jars with I think are just totally adorable. Now I didn’t have any massive jars, so I filled the pretty glasses I have. Then, I almost forgot, a massive cake, which is also totally unmissable. I had seen cute popcorn cones. I had to have bonbons or little chocolates or fudge or something bite-sized. To make the dessert table slightly more bearable and healthy I could add fruit. I needed drinks, I needed cookies, I needed loads of sweets. I’ve made uncountable lists of things I wanted and needed and must have. I’ve made more and more and narrowed them down and came up with more creative things or found something totally adorable, etc.
When I had finally decided on the ‘menu’ and I knew what it was supposed to look like, it was time for the actual decoration and finding of jars, bowls, glasses and so on. I wanted everything to be either white, black or glass as to not destroy the theme. It wasn’t that hard to find all the stuff I needed right here in my house. So I started checking off my list with what food I wanted where, and when I finally had it all I went on to the cards. A lot of dessert tables have little cards with a note on what is on the plate behind it. I used Photoshop to make cards of my own and added a butterfly theme to it, as I had the cutest butterfly nameplates (which in the end I didn't even use!). The invitations I made had the same theme to them.
When I was finally sure I had organized about everything, it was just waiting for the big day to come. Or rather the day before, so I could start baking everything I wanted.
So here’s what it ended up looking like from a distance: (let's stop talking and actually show what I've done)
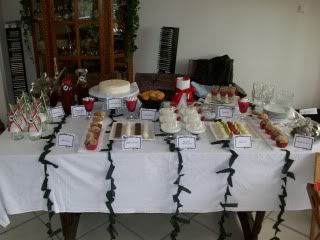
I didn’t have the leisure of an empty white wall I could put the table against and paste decoration on the walls. But it didn’t really matter in the end anyway. I put a little side table on one side with tea, hot water and teacups on it. In case anyone wanted tea (they did). Here’s a close-up:
Note: you see that caramel apple tea in there? It's absolutely delicious! I recently bought it because I'm totally addicted to strawberry caramel tea but they didn't have any!
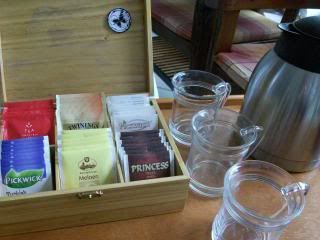
Can you see the little butterfly I added to fit the theme? My printer didn’t want to print anything without stripes though. So we just had to put up with that.
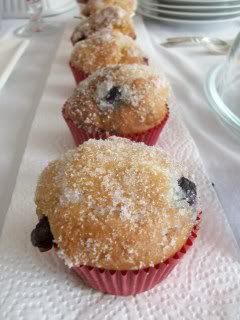
Oh look! What have we here? The unmissable cupcakes, disguised as Doughnut muffins with blueberries. They’re really as yummy as they look!
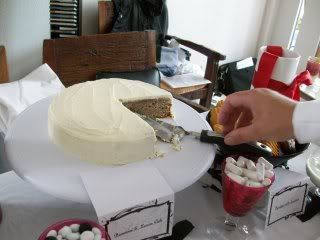
Another unmissable part of a dessert table is a cake. I made a Banana cake with Lemon icing. A sophisticated version of the Banana teabread I made before with a lemon icing.
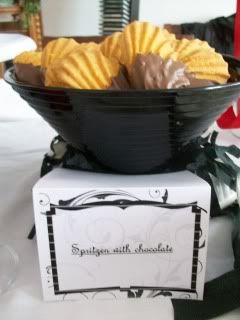
Apparently we couldn’t do without cookies either. So here are the cookies I used! I cheated on this actually. I bought spritz cookies from the store and just dipped them in milk & dark chocolate.
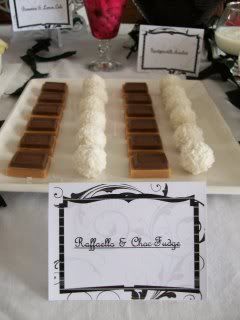
More things I cheated on: Raffaello and Choc&Fudge. They’re so delicious! I could never copy them or come up with a better alternative to make.
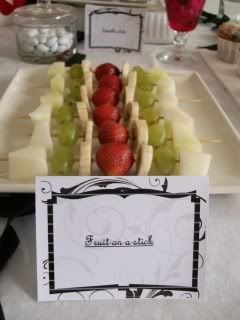
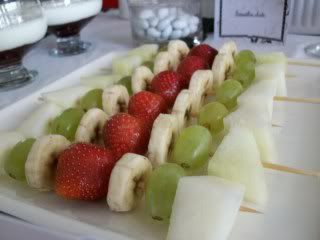
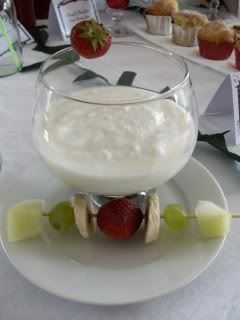
Oh yeah! Here comes the healthy stuff. Fruit on a stick, or skewered fruit. I was afraid no one would understand the word “skewered” so I decided on this. Don’t ask me why I insisted the cards were English and not Dutch. I just like the way it sounds better. It's a pity the banana had gotten a bit brown in the half hour it had to wait to be eaten. But doesn’t it look really nice and colourful?
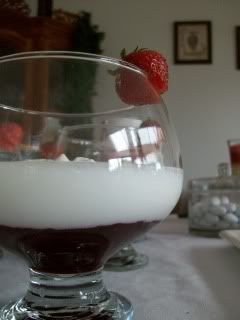
Here you see Berry dream with Greek yoghurt – and a strawberry as decoration. This was so delicious! I’m definitely going to have to make this over and over again. Plus it looks quite good as well don’t you think? I love the pretty glasses as well; I’m totally going to need some of my own.
To stay in the healthy fruit direction: Smoothie shots! I made the name up myself, not bad right? They also look pretty delicious like this. Note: there was absolutely no alcohol in these like normal shots tend to have.
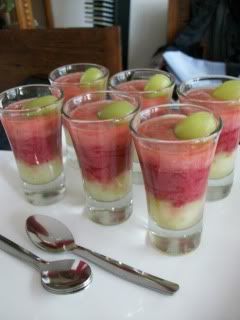
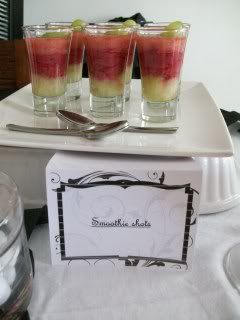
Oh! The picture spam! I just can't help but show off a little. I think some of the pictures came out so pretty!
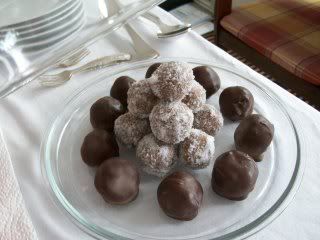
On to the chocolates: I made the bonbon version of Chocolate salami. Some of them I covered in caster sugar, others with milk chocolate. My mom loves these so much! I completely robbed her of her diet (sorry mom!).
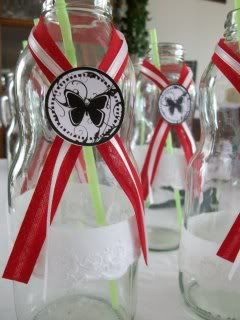
A close-up of the invitations which were used as the cups to pour juice in. My sisters decided to pour tea into these because it was way cooler than a normal teacup. And it could hold more. They had a point.
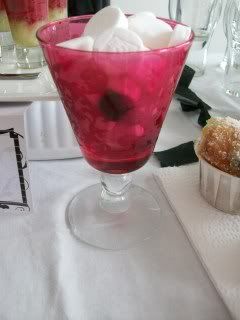
Now for a close-up of my lovely glasses (at a pretty odd angle). They are quite pretty aren’t they? I tried to make layers of candy in each glass, but this is totally not noticeable at all. Next time I’ll just go for one sort of candy each. That way flavours can’t mix either.
I made Blueberry Lemonade and bought two different juices with Cherry/Pear and Forest Berries flavour. I didn't have any good pictures of that though.
Now last, but not least two pictures of either side of the table so you can see what it looks like all together a little closer. I didn’t do bad right?
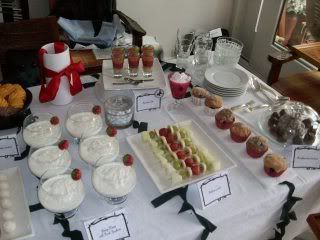
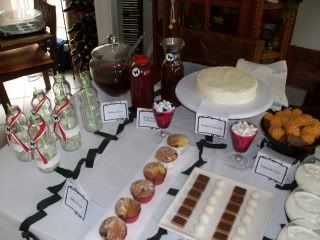
So there you have it! The sweet dessert table I made and I'm so totally proud of. I hope you enjoyed! Don’t forget to click on the links for the recipes!

No comments:
Post a Comment