The cake batter used for this cake is also really good to use for cupcakes, like I did in my 'basic cupcakes' which you can decorate in all the creative ways you can think of!
Depending on the colour you want your cake to be, add more food colouring or less. Do keep in mind that the flour will slightly lighten the colour of the batter, but it is still possible to add more later on.
Also, take in account that when you want to substitute the cream cheese filling for something different, that the filling you use is quite thick. I’ve made the mistake once of not making it thick enough (I think it was jelly) and the filling just came dripping out!
The cake:
Ingredients:
225 gram softened butter
225 gram white granulated sugar
1 teaspoon vanilla extract
1 teaspoon red foodcolouring
4 big eggs
225 gram selfraising flour
5 tablespoons milk
1. Start with mixing the butter and sugar together until the batter is soft. This is easiest with an electric mixer. Add the vanilla extract and red foodcolouring and mix again.
2. In a seperate bowl, lightly beat the eggs. Add a spoon of beaten egg to the butter-mixture and mix it in well. Then add the rest of the eggs in a few additions (3 to 4 should be enough) and beat well inbetween.
3. Sift the flour and add it to the batter. You can fold the flour in nicely, or if you’re lazy just like me use the electric mixer again! Add the milk as well at this point. I found it easier to alternate a bit of flour and then a bit of milk again and mixing well inbetween.
4. Pour the batter into cupcake cups. For a more solid ‘cupcake shape’ you can also put the shapes into a cupcaketin. Make sure to grease the tin if you’re not using the cupcake cups. Put the cakes in a preheated oven of 180 degrees Celsius or 350 degrees Fahrenheit for about 15 to 20 minutes.
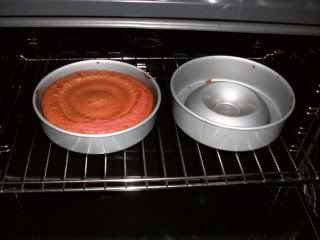
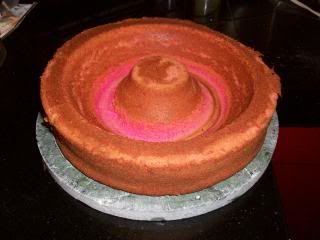
5. When the cake is done, leave it to cool and start working on the cream for on the inside!
Cream cheese filling
Ingredients:
250 gram cream cheese
1/4 to 1/2 a cup powdered sugar
A few drops vanilla extract
6. Mix! It’s as easy as that!
The cake (again!)
Strawberry jam (preferably without bits)
Fondant
7. With a knife, equally spread the inside (or top) of the cake with strawberry jam.
8. Gently put the cream cheese in the heartshape. I did this with a _____ because it was quite a bit easier and it doesnt push away the jam, or when you want to spred it, the jam wont mess everything up.
9. Put both sides of the cake on top of eachother.
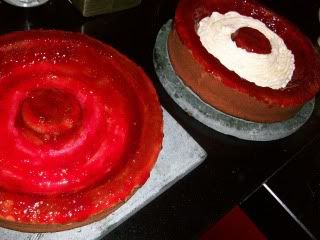
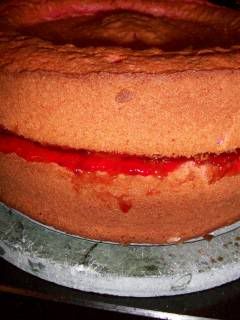
10. Spread the whole cake with jam again, so the fondant will stick against the sides.
11. Roll the fondant out into the right size and lay it over the cake. Push the sides gently against the cake and make sure there are no folds in it. Cut off the extra bits.
12. You can colour the extra bits, or take pre-coloured fondant and cut it into the shapes you want and add those to the cake.
13. Your cake is done! Serve it and make people happy!
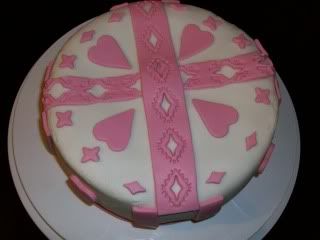
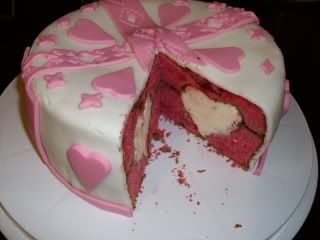
Why do I always get so embarassed when it comes to the pictures?

No comments:
Post a Comment