Friday, October 9, 2009

Simple vanilla fudge

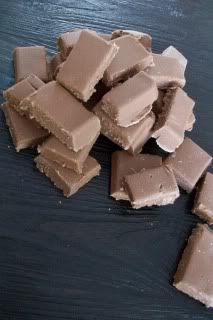
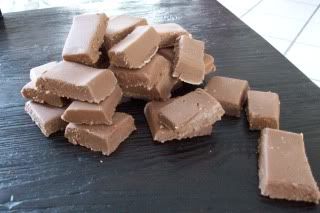
This must've been one of the easiest recipes I've ever made. There wasn't much about it really. So it was quickly done as well! These little fudgies are quite rich though! Practically it's just chocolate and cream, so you can imagine why.
I found that eating one filled me like a whole dinner would. I was quite astonished when I saw my sister easily eat three after eachother.
I made these fudge as simple as you can get: just fudge. I'm thinking of adding some nuts of fruits into it next time. Or perhaps some flavour, and if I do it with white chocolate I can even add some wicked colour! That reminds me - it might be a good idea for the upcoming halloween! What do you think: "Green fudge with cranberries"? Sounds like a halloween thing!
Photobucket

Photobucket

Ingredients:
2/3 cup evaporated milk
1 3/4 cup sugar
a pinch of salt
1 teaspoon vanilla essence
2 cups milk chocolate


1. Grease a brownie tin (or other), or line it with plastic wrap. I found the last one easier.
2. Add the milkd sugar and salt together in a pan and bring it to boil. Keep stirring! When it boils, lower the heat and let it simmer for a few minutes (5 or so) while stirring constantly.
3. Take the pan off the heat and add the chocolate. Stir until all the chocolate has melted in.
4. Add the vanilla essence and stir again.
5. Poor the mixture in the brownie tin and put it in the fridge. Leave it there until the chocolate has hardened and take it out. Cut the fudge into little pieces and we're done!

I found a brownie tin to be easiest for this work. Since it is a low tin and quite big so everything would fit in!
If you want to add hazelnuts or anything else to it, add them right before the chocolate. Use about a 1/2 cup for this. In stead of vanilla essence you can also add hazelnut liqeuer if you are using hazelnuts. Or any other liqeuer or essence you find to fit with your recipe.
Such easy recipes make it very easy to vary with them too! You simply cant go wrong with this!
Make sure you keep the brownies in a closed container though. They tend to dry out a bit fast if you leave them in the open for too long.
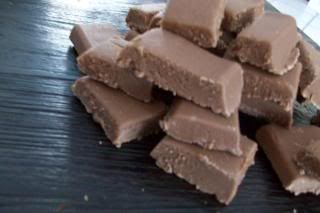
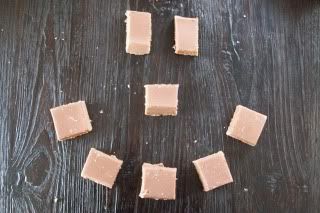
This must've been one of the worst things to photograph! Somehow I couldn't get them to look nice at all. Maybe it was just a bad timing or bad weather again. But personally I blame my own skills xP
Photobucket

Photobucket

Rice bread

It's been very long since I've posted something on this blog! That is, if you don't count the post I wrote a few minutes ago. That doesn't mean I haven't been busy baking though! It simply means my homework is catching up with me now and I don't have time to write things on my blog. A pitty really, not because of the blog, but because it means I have serious work to do! I never really liked homework all too much..
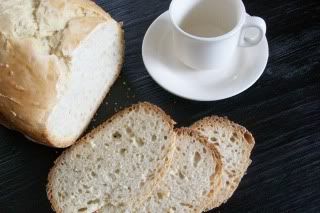
Back to the baking! When you're busy, but you still want to make something nice: bread machines! They were quite an invention, weren't they? I saw the words "rice bread" in one of my books and couldn't help but try it. It seemed a bit odd. I mean, who puts rice in bread? I did! and it tasted really good too! I liked this bread with chocolate paste a lot! They only thing I ate for the few days after I baked this bread!

Photobucket

Photobucket

It's very easy to make, but you do have to make rice before you start this recipe. Some left over rice from the dinner the day before will do pretty well. Since we hadn't eaten any rice, I just made some more. Put everything in the bread machine and wait! An easy recipe for busy days!

Ingredients:
¾ cup water (180 ml)
1 egg
3 cups white flour (350 gram)
1 cup cooked (long grain white) rice (115 gram)
1 tablespoon milk powder
1 tablespoon salt
1 ½ teaspoon sugar
1 tablespoon butter
1 teaspoon dried yeast


1. Pour the water in the breadpan and add the egg.
2. Sift the flour over the water, covering up all the water. Add the rice and milk powder.
3. Add the salt, suar and butter in seperate corners of the pan.
4. Make a well in the middle of the flour and add the yeast.
5. Now start the breadmachine at a normal setting, medium curst and press start.

If you still have to cook the rice, here's a tip: Take half a cup of rice and cook it. Don't take a full cup and cook it, like I did! You'll end up with over two cups and you just dont need that much!
We don't have milk powder at home, so I always use the coffee milk powder my parents use. I don't know if it's a good substitute, but the bread still tasted just fine!
I keep wondering why you have to put salt and sugar in different corners of the pan. Does anyone know this? It seems quite odd to me, since they will mix in together anyway!

Photobucket

Photobucket

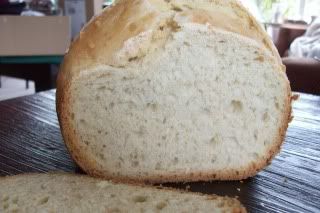
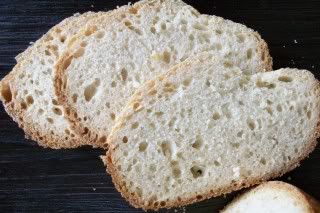
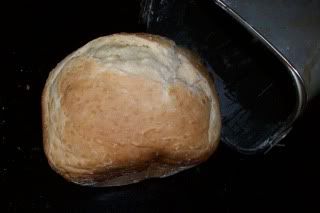
I love the structure of this bread! Really, it turned out great! I wonder where the rice has gone though. You don't really see it back in the bread all too much.
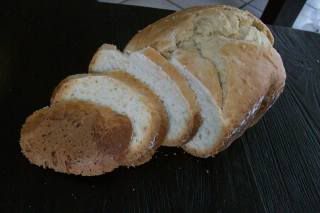
This bread was really easy to cut as well. You know the breads that totally splat under your hands when you try to cut a slice off of it? This bread did NOT have that! I say that's worth a pluspoint already!
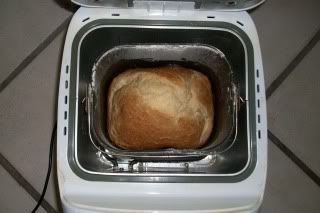
A picture with my wonderful breadmachine! I love it! Pretty old, but works just fine!

Photobucket

Photobucket

Chocolate nougatine pralines

Photobucket

Photobucket

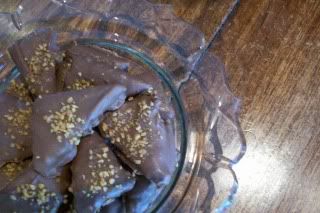
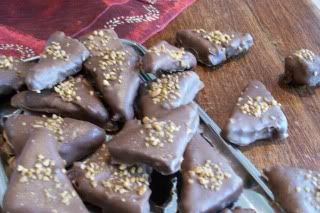
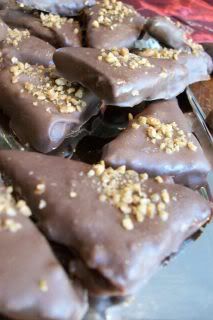
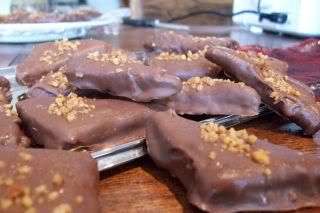
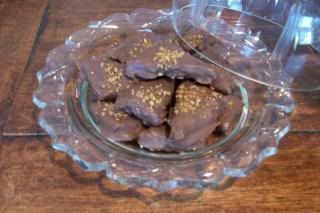
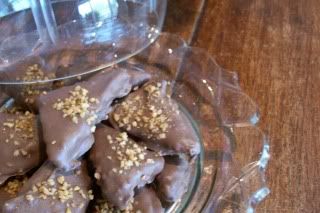
To start off with the name - yes, I just couldn't think of anything better! If I would translate the name it said in my recipe book it would become crispies and that just wasn't going to be right. So the recipe now has a boring name! :D Doesn't affect the way they taste though!
The last few weeks I've been looking into pralines, or other little confectionery, a lot and sometimes you just find recipes you HAVE TO try! This was one of those. I really love the taste of nougatine and when I saw the pictures of these little chocolates I think I melted myself. It's a good thing I tried them, because they turned out GREAT!
I had some trouble making them as the 'inside' of these chocolates turned out a bit soft. But after I put them in the fridge they were hard enough to work with and the chocolate coating around it prevented them from melting too much after.
(Un)forunately I left them a bit long in the fridge to cool and my father thought they looked nice and ate quite a lot before I ever got to finish them. That reminds me I have to put a little sign "DO NOT TOUCH!" on it next time.

Photobucket

Photobucket

Ingredients:
100 ml cream
100 gram milk chocolate
100 gram dark chocolate
(2 teaspoons of nut or almond liqueur)
200 gram nougatine
150 gram milk chocolate


1. Bring the cream to boil while stirrying constantly.
2. As soon as the cream is boiling take it off of the fire and add a bit of the chocolate. Stir the chocolate in until it's melted and add more chocolate. Add 100 gram milk and dark chocolate like this. Repeat this until all the chocolate is melted and well mixed in.
3. Add the liqueur now, if you want. If you want children to eat it too it's not advisable. I just left it out.
4. Add 150 gram nougatine to the mixture and mix it in well too.
5. Line a brownie tin (or other tin) with plastic wrap and poor the mixture over it. By now the mixture should be cool enough to not melt the plastic wrap. If it’s not cool enough leave it to cool for a bit first. Put the tin in the fridge and leave it to cool for about an hour.
6. Take the hardened mixture out of the tin and cut it into triangles.
7. I found it handy to put the triangles back in the tin and in the freezer after this. It makes working with them easier later on. You can also skip this and start dubbelboiling (au bain-marie) the remaining 150 gram chocolate. Keep stirring while the chocolate melts.
8. Take the pan with chocolate off the fire. Use a fork to fully dip the triangles in the chocolate. Put the triangle on a plate covered in plastic wrap. Sprinkle a bit of the remaining nougatine over it. Repeat this until all the triangles are done. (You might have to cover a few more plates in plastic wrap :P)
9. Put the plates in the fridge and leave it until the chocolate has hardened and they’re ready to eat!

Depending on what weather it is and where you live - I'd leave the chocolates in the fridge. They tend to melt a bit easy!! But they're defenitely worth it!
Very nice to make for a party too. My mom already orderd some for the coming party!

Photobucket

Photobucket